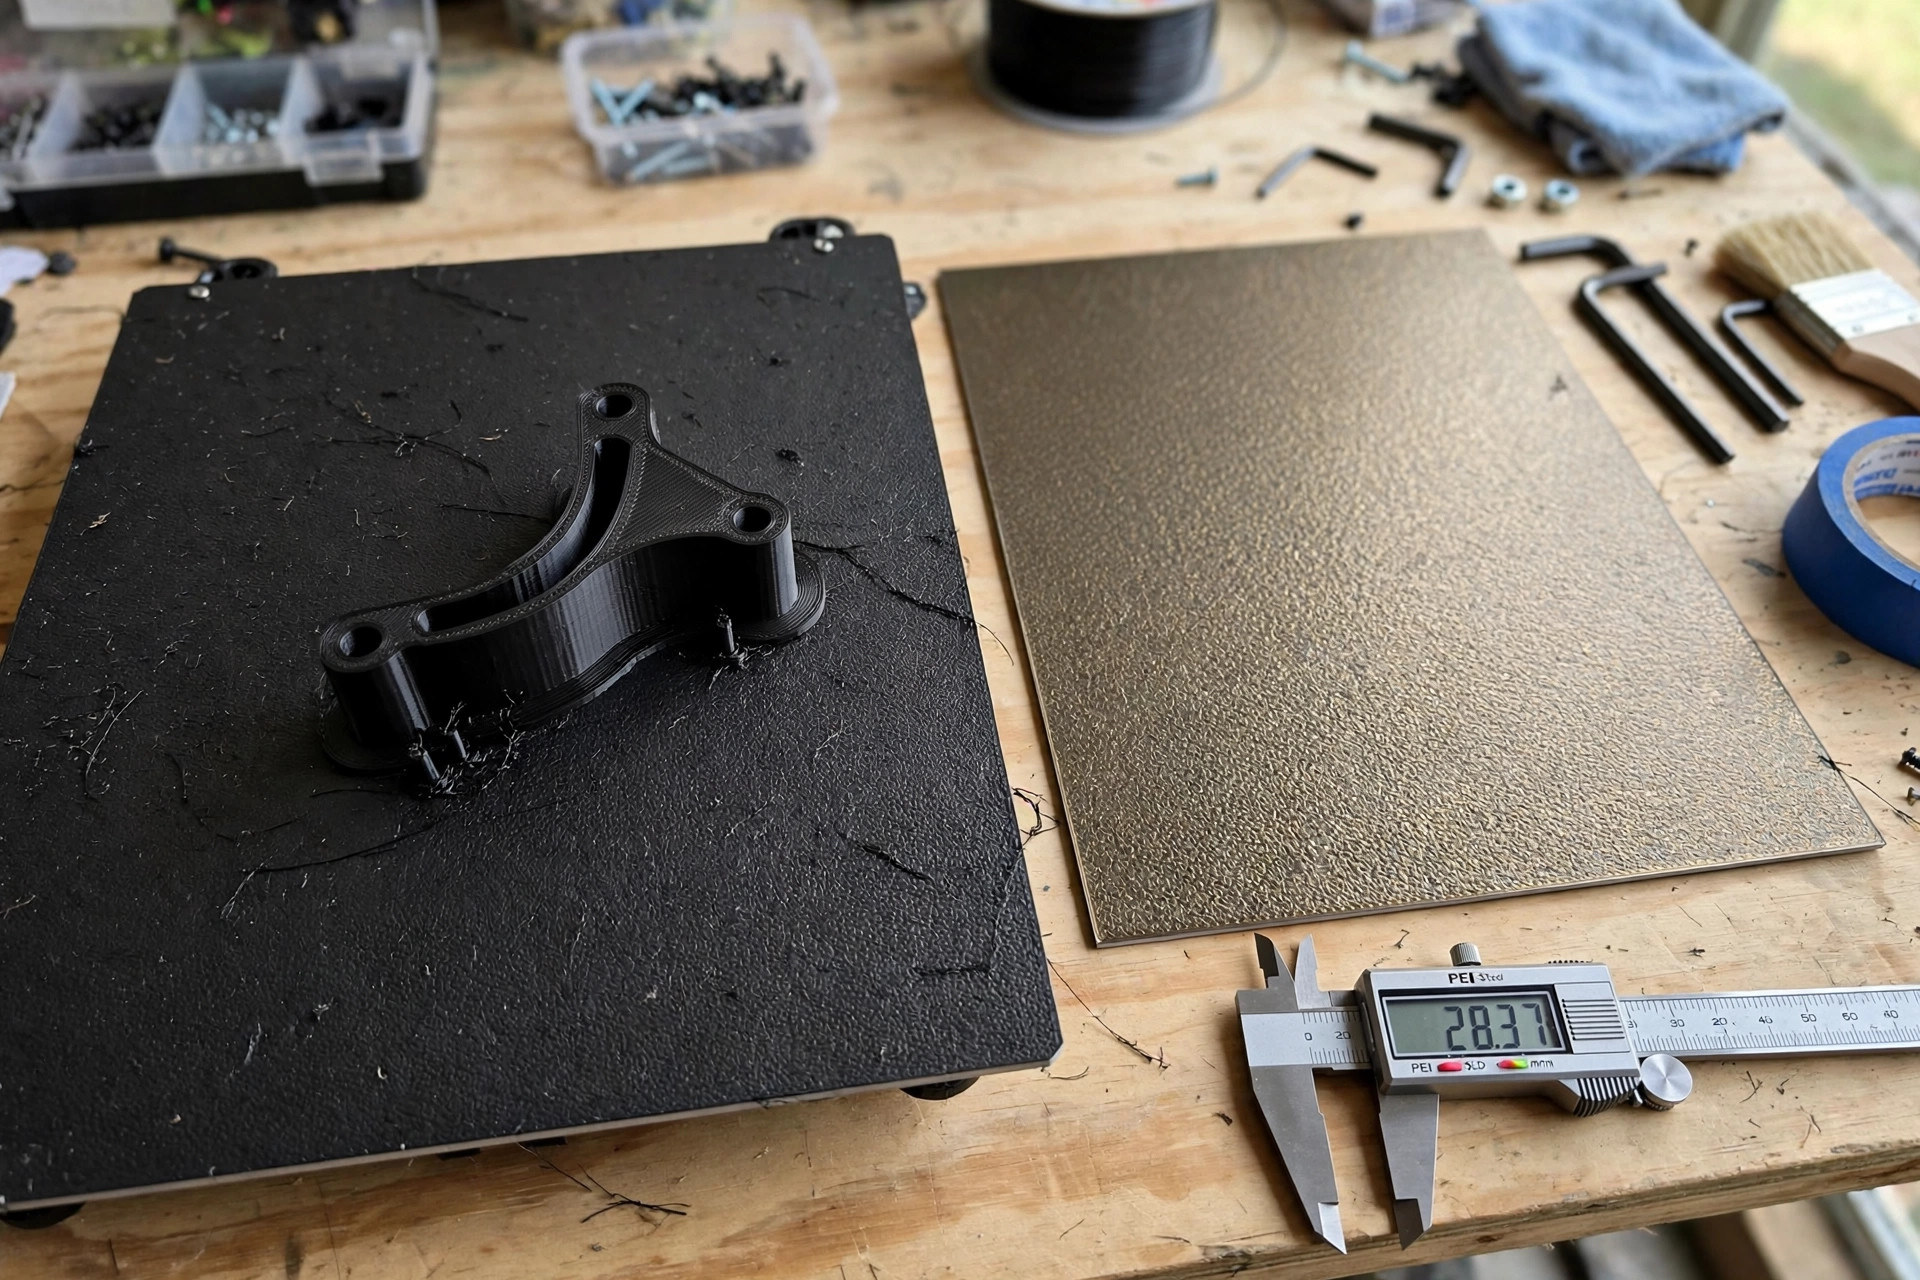
Most failed 3D prints do not fail in the nozzle — they fail on the bed. A corner lifts, a tall part pops loose at hour three, or a print welds itself to the surface so hard that removing it damages the part. A PEI build plate fixes the most common version of all three: PEI grips the first layer while hot, then lets go with a flex once cool. This guide explains smooth vs. textured PEI, how to size a plate to your printer, and the five plates worth buying in 2026 — from the all-round smooth plate to a sub-$20 first upgrade.
Last updated: October 27, 2026 · Prices and availability checked October 2026.
PrintDialed is reader-supported. When you buy through links on our site, we may earn an affiliate commission.
Our picks
- Smooth PEI build plate Best overall
- Textured PEI build plate Best for warp-prone prints
- Dual-sided PEI plate (smooth + textured) Best two-in-one
- Large-format PEI plate (300mm+ beds) Best for big printers
- Budget PEI plate under $20 Best budget
| Product | Best for | Key spec | Price |
|---|---|---|---|
| Smooth PEI build plate | Most printers & everyday filaments | Smooth PEI on spring steel · great PLA/PETG adhesion · easy flex release | Check price → |
| Textured PEI build plate | PETG, ABS & ASA that lift and warp | Powder-coated textured PEI · stronger grip · matte first layers | Check price → |
| Dual-sided PEI plate (smooth + textured) | Printers that switch materials often | Smooth one side, textured the other · one plate, two surfaces | Check price → |
| Large-format PEI plate (300mm+ beds) | Large-format printers | 300–350mm+ sizes · thicker steel · even heating matters | Check price → |
| Budget PEI plate under $20 | First PEI upgrade & second printers | Single-sided PEI · thinner steel · fits common bed sizes | Check price → |
Smooth vs. textured: the one decision that matters
Smooth PEI gives a glossy, flat base and the easiest release — the right choice for PLA, PETG, and display parts where the bottom shows. Textured PEI gives a matte, grippy base that holds warp-prone materials flat — the right choice for ABS, ASA, and any print that has lifted before. Neither is universally better; the right plate is the one matched to the material you print most. If you print both, the dual-sided plate below is the answer, not a compromise.
Size it exactly, and check the magnetic base
A PEI plate is a system, not just a sheet: a spring-steel plate plus a magnetic base stuck to the heated bed. Measure your bed in millimetres, buy that exact size, and confirm whether your printer already has a magnetic base — most modern printers do, some older or budget machines do not, in which case the base is part of the purchase. A plate that overhangs the base heats unevenly at the edges; a plate smaller than the bed wastes build volume. And never print PEI above its rated temperature for long stretches without checking the base adhesive: high-temperature bases exist for ABS/ASA work for a reason.
How we compared them
We compared PEI plates on surface type and what it means for adhesion and first-layer finish, steel thickness and flatness, size range and magnetic-base compatibility, and owner-reported durability — especially how the coating holds up to repeated flexing and cleaning. An honest note: these are researched roundups built from manufacturer specifications and aggregated owner reviews, not instrumented adhesion tests of every plate. The guidance below is about matching surface and size to your printer and your most-printed material.
The five PEI build plates worth buying in 2026
Smooth PEI build plate Best overall
The default recommendation: a smooth PEI sheet bonded to a flexible spring-steel plate. PLA and PETG stick to smooth PEI reliably at normal bed temperatures, the print releases with a flex of the plate once cool — no scraper, no prying, no torn first layers — and the bottom surface comes out glossy and smooth, which matters for parts where the base is visible. It is the plate most printer makers ship for a reason: it covers the widest range of everyday materials with the least fuss.
Size it exactly to your printer's bed: a plate that overhangs the magnetic base will not heat evenly, and one that is too small wastes build volume and can leave the magnetic base exposed to the nozzle. Measure the bed, match the plate (including the magnetic base if your printer does not already have one), and keep the surface clean — a wipe with isopropyl alcohol between prints is the whole maintenance routine. If you print mostly PLA and PETG, stop here.
Pros
- Best all-round adhesion for PLA and PETG with easy flex release
- Smooth, glossy first layers; simplest maintenance in this guide
Cons
- Smooth surface shows every fingerprint and scratch in the base
- Not the best grip for warp-prone materials like ABS/ASA
Our verdict: Best all-round adhesion for PLA and PETG with easy flex release — the pick for most printers & everyday filaments.
Best for: Most printers & everyday filaments. Not ideal for: Smooth surface shows every fingerprint and scratch in the base.
Textured PEI build plate Best for warp-prone prints
When prints lift at the corners, warp off the bed, or pop loose mid-print, the textured plate is the fix before you reach for brims, rafts, or glue sticks. The powder-coated texture gives the first layer far more surface to grip, which holds warp-prone materials — PETG at the edges, ABS and ASA especially — flat through the whole print. The trade is a matte, textured bottom surface: fine for functional parts, less pretty for display pieces.
Textured plates also forgive more setup error than smooth ones: a slightly imperfect first-layer height still grips, and PETG's notorious habit of bonding too well to smooth surfaces is much reduced — parts release with a flex instead of a fight. If your printer's most common failure is a corner lifting at hour three, this plate, not a new slicer profile, is the upgrade. Our print-failure guide covers the slicer side of the same problem.
Pros
- Strongest grip in this guide — holds warp-prone materials flat
- PETG releases cleanly instead of bonding too hard
Cons
- Matte, textured base — not the prettiest first layer
- Fine detail on the base can pick up texture
Our verdict: Strongest grip in this guide — holds warp-prone materials flat — the pick for petg, abs & asa that lift and warp.
Best for: PETG, ABS & ASA that lift and warp. Not ideal for: Matte, textured base — not the prettiest first layer.
Dual-sided PEI plate (smooth + textured) Best two-in-one
If you print PLA display pieces on Monday and PETG brackets on Tuesday, a dual-sided plate gives you both surfaces on one piece of steel: flip it smooth-side up for glossy bases, textured-side up for grip. It is the best value in this guide per surface, and it ends the drawer full of single-purpose plates that every long-term printer owner accumulates.
The honest costs are small but real: flipping a plate mid-week means re-checking the Z-offset (the two sides are rarely exactly the same thickness), and you must remember which side is up — a PLA print on the textured side is fine, but an ABS print on the smooth side is the warp you bought the textured side to prevent. Label the sides with a marker on the edge tab and the system works.
Pros
- Two surfaces on one plate — best value per surface here
- Ends the drawer of single-purpose plates
Cons
- Z-offset must be re-checked when flipping sides
- You must remember which side is up
Our verdict: Two surfaces on one plate — best value per surface here — the pick for printers that switch materials often.
Best for: Printers that switch materials often. Not ideal for: Z-offset must be re-checked when flipping sides.
Large-format PEI plate (300mm+ beds) Best for big printers
Large beds make every plate problem bigger: a small warp on a 220mm bed becomes a lifted corner on a 350mm bed, and a thin plate that flexes fine at small sizes can bow or heat unevenly at large ones. Large-format PEI plates use thicker spring steel and, on the better ones, a stronger magnetic base, so the plate stays flat across the whole bed and releases a large part without the wrestling match a glass bed turns it into.
Buy the exact size for your printer — large-format beds vary more than small ones, and a plate even 10mm short leaves a cold strip where prints will not stick. Also check the magnetic base: some large printers ship with a weak base that lets a thick plate lift at the corners under warp stress, in which case the plate and a matching high-temperature magnetic base are bought together. If you are choosing the printer itself, our beginner printers guide covers which sizes make sense for what you print.
Pros
- Thicker steel stays flat across large beds
- Flex release saves large parts from scraper damage
Cons
- Sizes vary by printer — measure exactly before ordering
- May need a stronger magnetic base on some printers
Our verdict: Thicker steel stays flat across large beds — the pick for large-format printers.
Best for: Large-format printers. Not ideal for: Sizes vary by printer — measure exactly before ordering.
Budget PEI plate under $20 Best budget
If you are still printing on the stock build surface that came with a budget printer — smooth glass, a worn sticker sheet, or a scratched flexible plate — a sub-$20 PEI plate is the highest-value upgrade in 3D printing. The adhesion jump from a tired stock surface to fresh PEI is immediate: first layers that used to need glue stick or a brim now stick clean and release with a flex, and the plate pays for itself in failed prints avoided within a week.
Know what the price gives up: thinner steel that flexes more (fine at common sizes, less ideal at large ones), a single surface rather than dual-sided, and a PEI coating that wears faster under aggressive scraping — so do not scrape it; flex it. As a first PEI plate, or a spare for a second printer, it is the right buy.
Pros
- Biggest adhesion upgrade per dollar in 3D printing
- Flex release — no scraper needed if you treat it right
Cons
- Thinner steel; single surface only
- Coating wears faster if scraped instead of flexed
Our verdict: Biggest adhesion upgrade per dollar in 3D printing — the pick for first pei upgrade & second printers.
Best for: First PEI upgrade & second printers. Not ideal for: Thinner steel; single surface only.
Our verdict
Buy the smooth PEI plate sized exactly to your bed if you print mostly PLA and PETG — it is the correct default and the end of glue-stick first layers. Switch to the textured plate the day a corner lifts, take the dual-sided plate if you switch materials weekly, and size up to the large-format plate with a matching magnetic base for big beds. Keep a filament dryer in the same workflow — dry filament on a good plate fixes the two most common print failures at once — and keep the plate clean: isopropyl alcohol between prints, no scrapers, flex to release.
Frequently asked questions
Why did my print stick too well to PEI?
Usually PETG printed too hot on a smooth plate, or a print removed while still warm. Let the plate cool fully — PEI releases as it cools — then flex the plate. If PETG still bonds too hard, switch to the textured side or plate for PETG, and check your first-layer height: a nozzle squashing the first layer into the plate bonds far harder than a correctly set one.
How do I clean a PEI plate?
Isopropyl alcohol on a paper towel between prints for fingerprints and dust; warm water and dish soap for a deeper clean when adhesion drops. Avoid acetone on PEI (it degrades the coating over time) and never use a metal scraper — flex the plate to release parts instead.
Can one plate handle PLA, PETG, ABS, and TPU?
Mostly yes with the right surface: smooth PEI handles PLA and PETG, textured handles ABS/ASA better, and TPU prints on either but should use a release agent or a textured surface, since flexible filament can bond aggressively to smooth PEI. Check the plate maker's material guidance for TPU before your first flexible print.
Do I need a new magnetic base?
Only if your printer lacks one, or if the existing base is weak, peeling, or not rated for the temperatures you print at. A plate that shifts or lifts at the corners under warp stress is usually a base problem, not a plate problem.