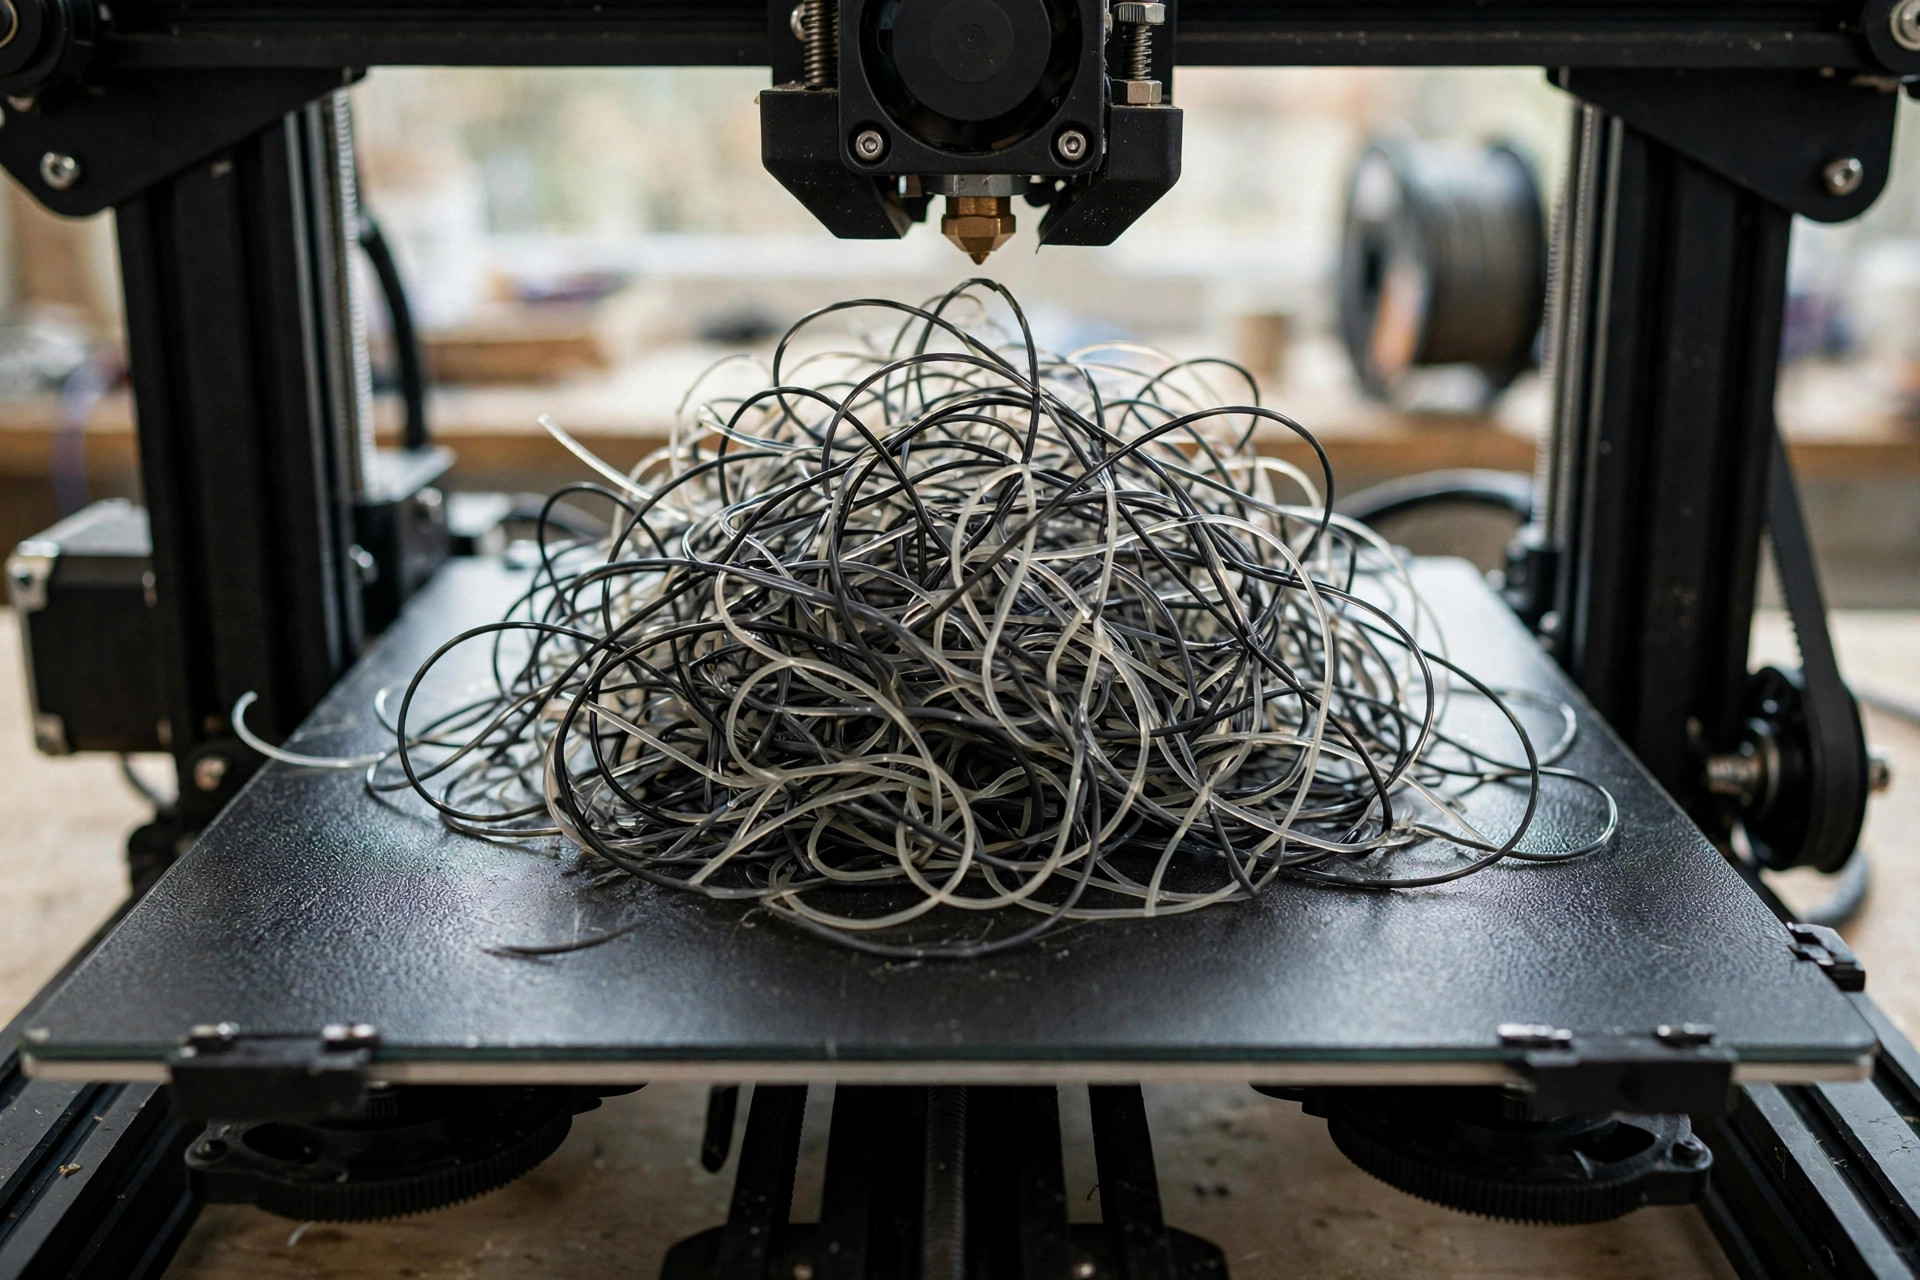
Successful troubleshooting starts by naming the symptom accurately. Stringing, warping, layer shifts, and poor bed adhesion can appear in the same failed part, but they usually have different causes. Changing temperature, speed, retraction, leveling, and flow at once makes the next result impossible to interpret. Save the failed print, take a photo, note the layer where trouble began, and test one likely cause at a time.
First: rule out the simple causes
Confirm that the selected slicer profile matches the printer, nozzle diameter, plate, and material. Check that the build plate is seated, the nozzle is tight according to the manufacturer's procedure, and the correct filament is loaded. Wash the plate with plain dish soap and water, dry it, and avoid touching the print area. Inspect the spool for tangles and verify that the guide path moves freely.
Then watch the first layer. A line that is round and barely attached suggests the nozzle is too far away or the surface is contaminated. A line that is translucent, ridged, or scraped may be too close. Adjacent lines should meet without large gaps or heavy overlap. Automatic leveling helps map the bed but can still depend on a correct nozzle offset and clean sensor conditions.
Stringing between separate features
Stringing appears as fine hairs across travel moves. Begin by drying the filament, especially PETG, TPU, and nylon. Moisture turns into vapor in the hotend, increasing ooze and producing a rough or popping extrusion. If the material is dry, confirm the profile's normal temperature range and print a small temperature tower. Too much heat lowers viscosity and encourages leakage during travel.
Retraction pulls filament back before a travel move. Increase it only in small steps and stay within guidance for the extruder type. Direct-drive systems usually need shorter distances than long Bowden paths. Excessive retraction can grind filament, pull soft plastic into a cold zone, and cause a clog. Faster travel and a path that avoids crossing open areas can help, but do not exceed safe machine limits.
Warping and lifted corners
Warping happens when cooling plastic contracts and overcomes bed adhesion. Clean the plate first. Use the material profile's bed temperature, reduce drafts, and keep the first layer slow. A brim adds disposable surface area around the part and is often more effective than flooding the bed with adhesive. Rounded model corners also concentrate less stress than sharp ones.
ABS and similar materials often need an enclosure that holds a stable ambient temperature. PLA can warp too if a room vent blows across a large flat part or if cooling is excessive during the first layers. Do not disable cooling for the entire PLA print as a reflex; unsupported edges may sag later. Use the material's staged cooling strategy.
Layer shifts
A layer shift is a sudden sideways offset above a certain height. Mechanical resistance or lost motor steps is more likely than a slicer problem. With power off and the machine cool, check for debris, cable snags, loose pulleys, and belts that are obviously slack or excessively tight. Move axes only as the manual allows. Set screws on a pulley must engage the correct part of the motor shaft.
If mechanics look normal, lower acceleration and print speed to test whether the issue disappears. A nozzle can also collide with curled infill or a lifting corner. Examine the failed layer for a raised feature and listen for impacts during the reprint. Grid infill can create crossing points that build up on some profiles; a noncrossing pattern may reduce contact.
Print will not stick
Separate first-layer adhesion from model stability. If even a simple square peels immediately, focus on cleanliness, plate selection, offset, and first-layer settings. If the base sticks but a tall model falls hours later, use a brim, improve orientation, reduce toolhead acceleration, or add modeled support. Glue is sometimes a valid release layer or material-specific aid, but it should not be the first fix for an unwashed surface.
Under-extrusion and weak layers
Gaps, thin walls, and weak bonding can come from a partial clog, low temperature, restricted spool movement, worn extruder gears, wet filament, or incorrect flow. Heat and unload through the normal procedure, inspect the filament for deep grinding, and test a known-good spool. Do not push metal needles into an energized hotend unless the manufacturer explicitly describes that method.
If weakness occurs only in one direction, orientation is likely part of the problem. Rotate the model so critical loads run along continuous extrusion paths. Increase wall count before resorting to extreme infill, and add radii around abrupt corners. For a safety-critical part, printed plastic may not be appropriate regardless of settings.
Blobs, zits, and seams
A vertical line of bumps is often the seam where each perimeter begins and ends. Move seam placement to a hidden corner or use aligned placement intentionally. Random seams distribute marks but can make an entire surface look peppered. Wet filament, pressure settings, and unstable temperatures can worsen the effect. Inspect the slicer preview before attempting advanced calibration.
A repeatable troubleshooting sequence
- Save the file and record the exact profile.
- Classify when and where the defect begins.
- Inspect the model in preview for unsupported or thin geometry.
- Clean and physically inspect the machine while cool.
- Test with dry, known-good filament.
- Change one setting and print a small targeted test.
- Record the result, then keep or reverse the change.
This method feels slower than changing five settings, but it usually reaches an answer in fewer prints. The goal is not merely to rescue one model. It is to understand which combination of machine, material, geometry, and environment produced the failure so the next project starts from a stronger baseline.