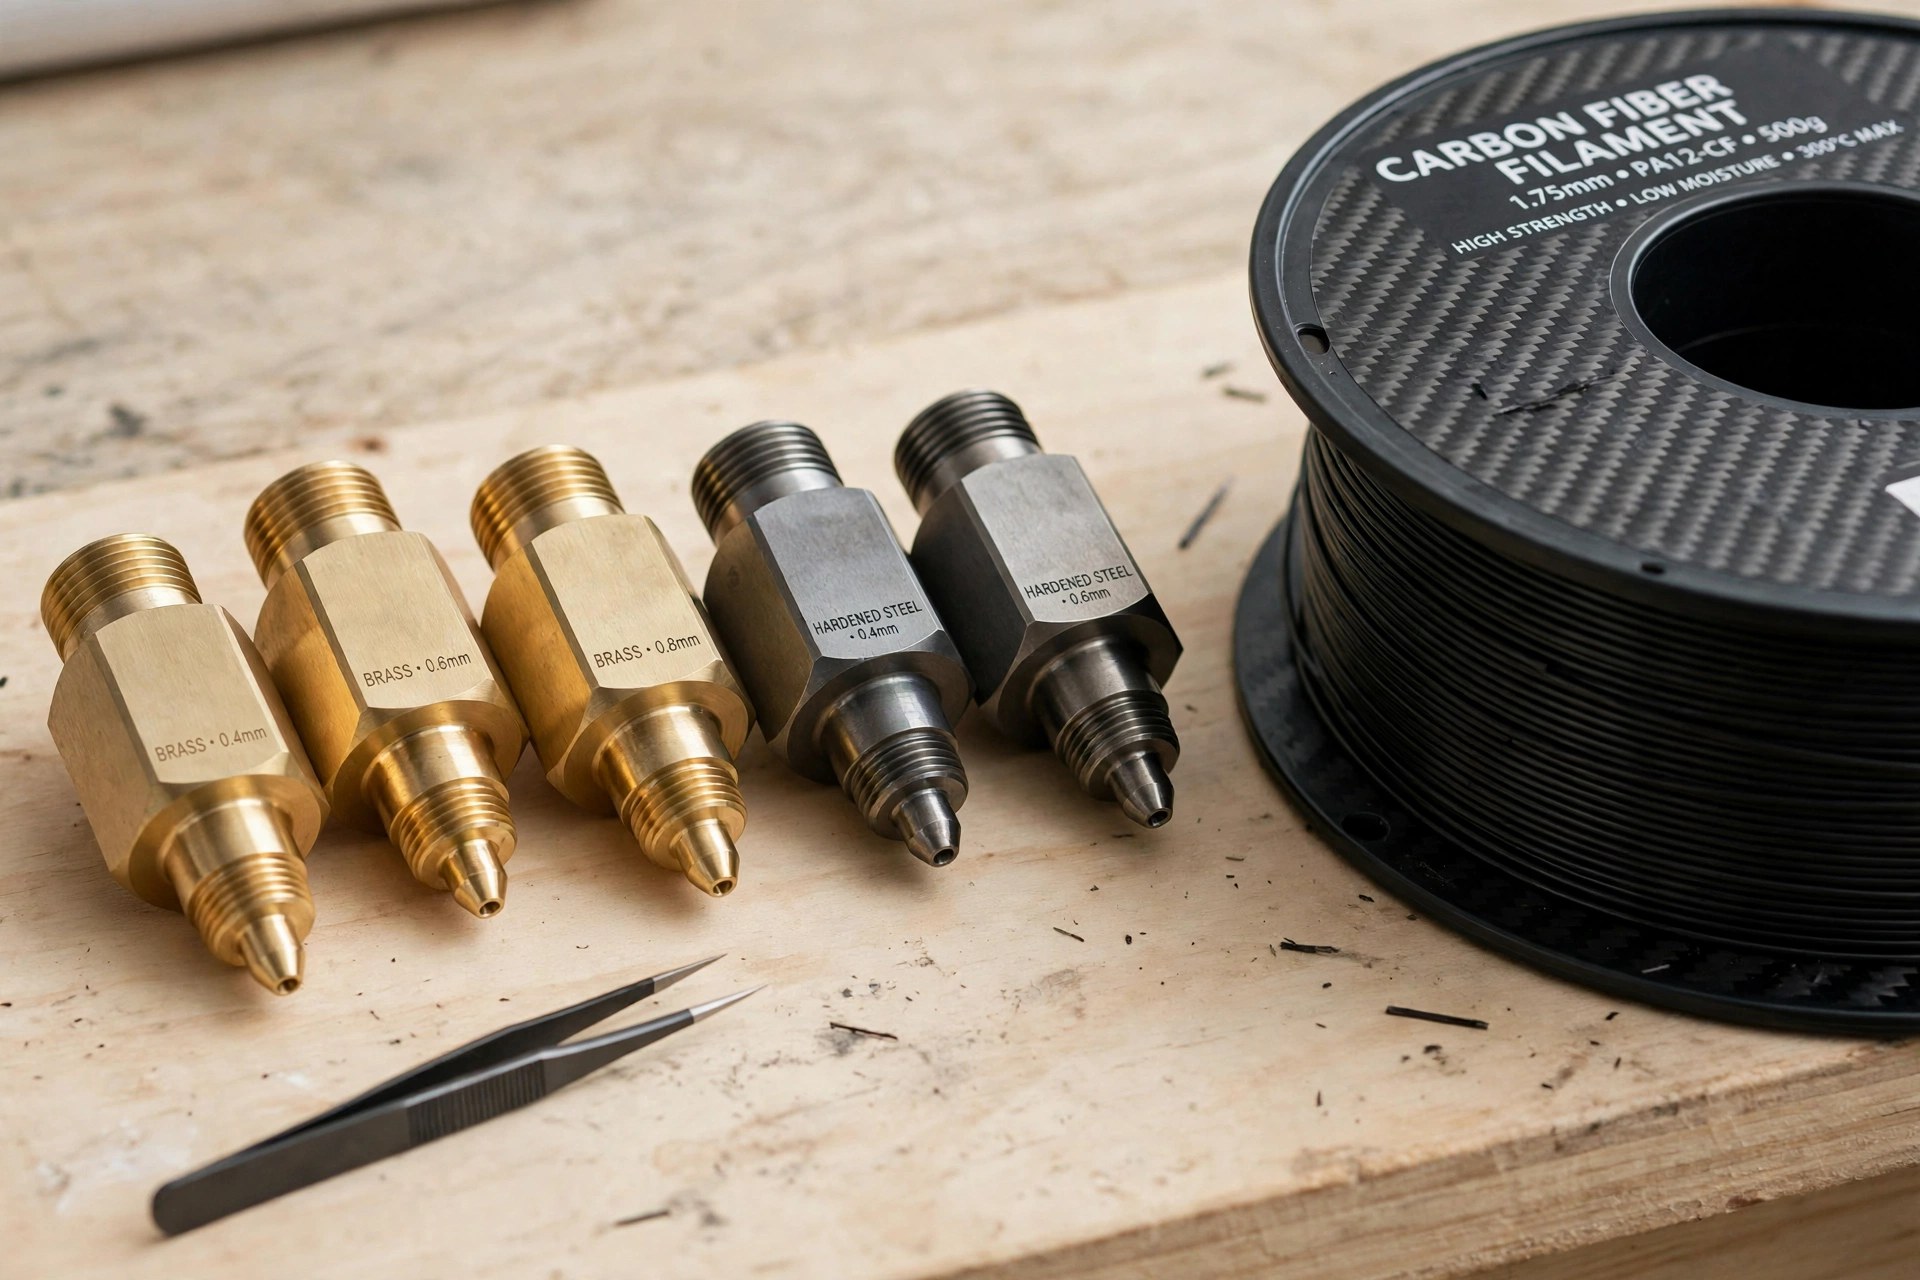
The most expensive filament mistake in 3D printing is also the quietest: printing carbon-fiber, glass-fiber, or glow filament through a brass nozzle. The abrasive particles bore the nozzle wider as you print, so the first layers are crisp and the last layers are stringy and over-extruded — and the slicer never knows, because it still thinks the nozzle is 0.4mm. A hardened nozzle fixes the problem at its root: a bore that stays the size it claims. This guide explains brass vs. hardened steel vs. ruby vs. carbide, which bore size to run, and the five nozzle picks worth buying in 2026.
Last updated: November 3, 2026 · Prices and availability checked November 2026.
PrintDialed is reader-supported. When you buy through links on our site, we may earn an affiliate commission.
Our picks
- Hardened steel nozzle set Best overall
- Ruby-tipped nozzle Best for heavy abrasive use
- Tungsten carbide nozzle Best durability per dollar
- Large-bore nozzle set (0.6mm and up) Best for fast functional prints
- Budget hardened nozzle multipack Best budget
| Product | Best for | Key spec | Price |
|---|---|---|---|
| Hardened steel nozzle set | Most abrasive-filament printing | Hardened steel · 0.4/0.6/0.8mm · resists carbon-fiber wear | Check price → |
| Ruby-tipped nozzle | Daily carbon-fiber & production printing | Ruby tip in brass body · near-zero wear · best thermal conductivity here | Check price → |
| Tungsten carbide nozzle | High-temperature & abrasive printing | Tungsten carbide tip · high-temp capable · very wear resistant | Check price → |
| Large-bore nozzle set (0.6mm and up) | Fast functional parts & large prints | 0.6/0.8/1.0mm bores · faster prints · stronger layer bonds | Check price → |
| Budget hardened nozzle multipack | First abrasive-filament upgrade | Hardened steel multipack · common sizes · lowest cost per nozzle | Check price → |
Why brass nozzles die on abrasive filament
Brass is soft — that is why it prints so well with plain PLA and PETG, and why it loses to any filament carrying hard particles. Carbon fiber, glass fiber, wood flour, metal fill, and glow pigments are all harder than brass, and every millimeter of filament drags those particles through the bore. The bore widens, extrusion grows, and print quality decays across a single long print. The fix is not a new slicer profile or a hotter temperature: it is a nozzle material harder than the filler. Hardened steel, tungsten carbide, and ruby are all harder than the particles they meet, which is the whole point.
Bore size: the other half of the decision
For abrasive filament, bigger is usually better: 0.6mm is the sweet spot for most carbon-fiber work — wide enough to pass fibers without clogging, still detailed enough for functional parts. Keep 0.4mm for detailed abrasive prints and 0.8mm for fast, large functional parts. Whatever the bore, retune the slicer: layer height should stay under about 75% of the bore, line width should match the bore, and retraction usually needs a small increase for fiber-filled material. A nozzle swap without a profile change is half a fix.
How we compared them
We compared nozzles on material and wear resistance, thermal conductivity and the temperature adjustment each material needs, bore-size range, hotend compatibility (threading and heater-block fit), and owner-reported longevity — especially bore stability across multiple abrasive spools. An honest note: these are researched roundups built from manufacturer specifications and aggregated owner reviews, not instrumented wear tests of every nozzle. The guidance below is about matching nozzle material and bore to the filament you actually print.
The five nozzles worth buying in 2026
Hardened steel nozzle set Best overall
The default recommendation: a set of hardened steel nozzles in 0.4, 0.6, and 0.8mm. The moment you print carbon-fiber, glass-fiber, wood-fill, or glow-in-the-dark filament through a brass nozzle, the abrasive particles start boring the bore wider — prints that start crisp go stringy and over-extruded within a single spool, and the nozzle you thought was 0.4mm is quietly 0.6. Hardened steel resists that wear by an order of magnitude, so the bore stays the size the slicer thinks it is.
The trade is heat: steel conducts heat worse than brass, so hardened nozzles typically need 5-10 degrees more printing temperature and slightly slower first layers to keep adhesion. That is a slicer setting, not a reason to avoid them. Keep one brass nozzle in the drawer for plain PLA display work, and run hardened steel for everything filled, fibrous, or glittery. If you print abrasive filament at all, this set is not optional equipment — it is the price of accurate prints.
Pros
- Bore stays true through abrasive filament — prints stay accurate
- One set covers 0.4, 0.6, and 0.8mm for detail and speed
Cons
- Needs slightly higher temperatures than brass
- Steel is less thermally conductive, so first layers need care
Our verdict: Bore stays true through abrasive filament — prints stay accurate — the pick for most abrasive-filament printing.
Best for: Most abrasive-filament printing. Not ideal for: Needs slightly higher temperatures than brass.
Ruby-tipped nozzle Best for heavy abrasive use
When abrasive printing is not an occasional spool but the daily job, the ruby-tipped nozzle is the endgame: a genuine ruby orifice set in a brass body, which combines brass's heat conduction with a tip that abrasive particles essentially cannot wear. Print shops and production users buy ruby tips because the nozzle stops being a consumable — the bore is the same after fifty spools as after five.
The cost is the obvious objection: one ruby nozzle costs several times a hardened steel set, and it is still a brass body, so a crash into the bed or a careless wrench can damage it like any nozzle. Buy it when abrasive filament is your main material and nozzle swaps are eating print time; for occasional carbon-fiber work, the hardened steel set above is the better value. Either way, pair it with dry filament — our filament dryer guide covers why wet abrasive filament prints badly regardless of nozzle.
Pros
- Near-zero wear — the bore stays true for dozens of spools
- Brass body keeps the heat conduction hardened steel loses
Cons
- Costs several times a hardened steel set
- Still damageable by bed crashes and bad wrench work
Our verdict: Near-zero wear — the bore stays true for dozens of spools — the pick for daily carbon-fiber & production printing.
Best for: Daily carbon-fiber & production printing. Not ideal for: Costs several times a hardened steel set.
Tungsten carbide nozzle Best durability per dollar
Tungsten carbide sits between hardened steel and ruby on both price and wear: a carbide tip that shrugs off carbon fiber and glass fiber, handles high printing temperatures better than brass, and costs less than a ruby tip. For printers running engineering filaments — nylon with carbon fiber, polycarbonate blends, PEEK-adjacent materials on capable machines — carbide's temperature headroom is a real advantage, not just a spec-sheet line.
The practical notes: carbide is brittle, so it dislikes being dropped or over-torqued, and the tip geometry varies more between makers than steel nozzles do — buy from a maker with consistent machining, and check the nozzle against your printer's heater block threading before ordering, since not every carbide nozzle fits every hotend. If your printing is hot as well as abrasive, this is the pick.
Pros
- Excellent wear resistance plus high-temperature headroom
- Cheaper than ruby for near-ruby durability
Cons
- Brittle — dislikes drops and over-torquing
- Fit and machining vary more between makers
Our verdict: Excellent wear resistance plus high-temperature headroom — the pick for high-temperature & abrasive printing.
Best for: High-temperature & abrasive printing. Not ideal for: Brittle — dislikes drops and over-torquing.
Large-bore nozzle set (0.6mm and up) Best for fast functional prints
Abrasive filament and large nozzles belong together: carbon-fiber particles clog a 0.4mm bore far more readily than a 0.6 or 0.8, and a larger bore prints functional parts dramatically faster — layer heights of 0.4mm or more, walls in fewer passes, and stronger layer bonds from the wider extrusion. If your carbon-fiber prints are brackets, mounts, and drone parts rather than miniatures, a large bore is not a compromise on detail you need; it is a speed and reliability upgrade.
Know the trade: fine detail and overhangs suffer at 0.8mm and above, and the slicer profile must change — layer height, line width, and retraction all shift with bore size. Keep the 0.4mm hardened nozzle for the occasional detailed abrasive print, and run 0.6mm as the daily driver for functional work. Our strong-filaments guide covers which materials reward the larger bore most.
Pros
- Far fewer clogs with fiber-filled filament
- Much faster functional prints with stronger layer bonds
Cons
- Fine detail and overhangs suffer at large bores
- Slicer profile must be retuned for each bore size
Our verdict: Far fewer clogs with fiber-filled filament — the pick for fast functional parts & large prints.
Best for: Fast functional parts & large prints. Not ideal for: Fine detail and overhangs suffer at large bores.
Budget hardened nozzle multipack Best budget
If you have printed exactly one spool of carbon-fiber filament and watched it eat a brass nozzle, a budget hardened multipack is the cheapest lesson in 3D printing: several hardened nozzles for the price of one premium nozzle, in the sizes you will actually use, with wear resistance that immediately ends the widening-bore problem. The machining is less consistent than premium sets — check each nozzle's bore with a cleaning needle and a test print — but for a first abrasive upgrade, the value is undeniable.
Treat the multipack as a learning set: find which bore size you actually print with, then replace that size with a premium hardened or ruby nozzle once the habit is proven. As a first step off brass, it is the right buy — and it costs less than the spool of filament that destroyed the brass nozzle.
Pros
- Cheapest route off brass into abrasive-safe printing
- Multiple sizes to learn which bore you actually use
Cons
- Machining less consistent than premium sets
- Best as a learning set, not a lifetime set
Our verdict: Cheapest route off brass into abrasive-safe printing — the pick for first abrasive-filament upgrade.
Best for: First abrasive-filament upgrade. Not ideal for: Machining less consistent than premium sets.
Our verdict
Buy the hardened steel nozzle set in 0.4, 0.6, and 0.8mm if you print abrasive filament at all — it is the correct default and the end of mysteriously degrading prints. Step up to the ruby tip when abrasive printing is daily work, take the tungsten carbide nozzle for hot engineering filaments, run 0.6mm or larger for fast functional parts, and start with the budget multipack if this is your first abrasive spool. Keep a PEI build plate under it all — a true bore on a good plate fixes the two most common abrasive-print failures at once — and change the nozzle hot, with the right wrench, or you will learn why cold nozzle swaps strip threads.
Frequently asked questions
How do I know my brass nozzle is worn?
Prints get progressively stringier and over-extruded across a spool, first-layer lines get wider than the slicer set, and a 0.4mm cleaning needle passes too easily. If quality decayed during one abrasive spool, the nozzle wore — swap it and compare the next print.
Can I print PLA with a hardened steel nozzle?
Yes — hardened steel prints plain filament fine, just 5-10 degrees hotter than brass. Many owners leave a hardened nozzle installed permanently and only swap back to brass for the most detail-critical PLA display prints.
Do hardened nozzles need different slicer settings?
Mainly temperature: add 5-10 degrees over your brass profile, and slow the first layer slightly. Retraction and speed usually transfer unchanged; bore size changes, not material changes, are what demand a full profile retune.
How do I change a nozzle safely?
Heat the hotend to printing temperature, hold the heater block with a wrench, and unscrew the nozzle with a second wrench — never cold, never one-handed. Cold swaps seize threads; one-handed swaps twist the heat break. Let it cool before handling the removed nozzle.