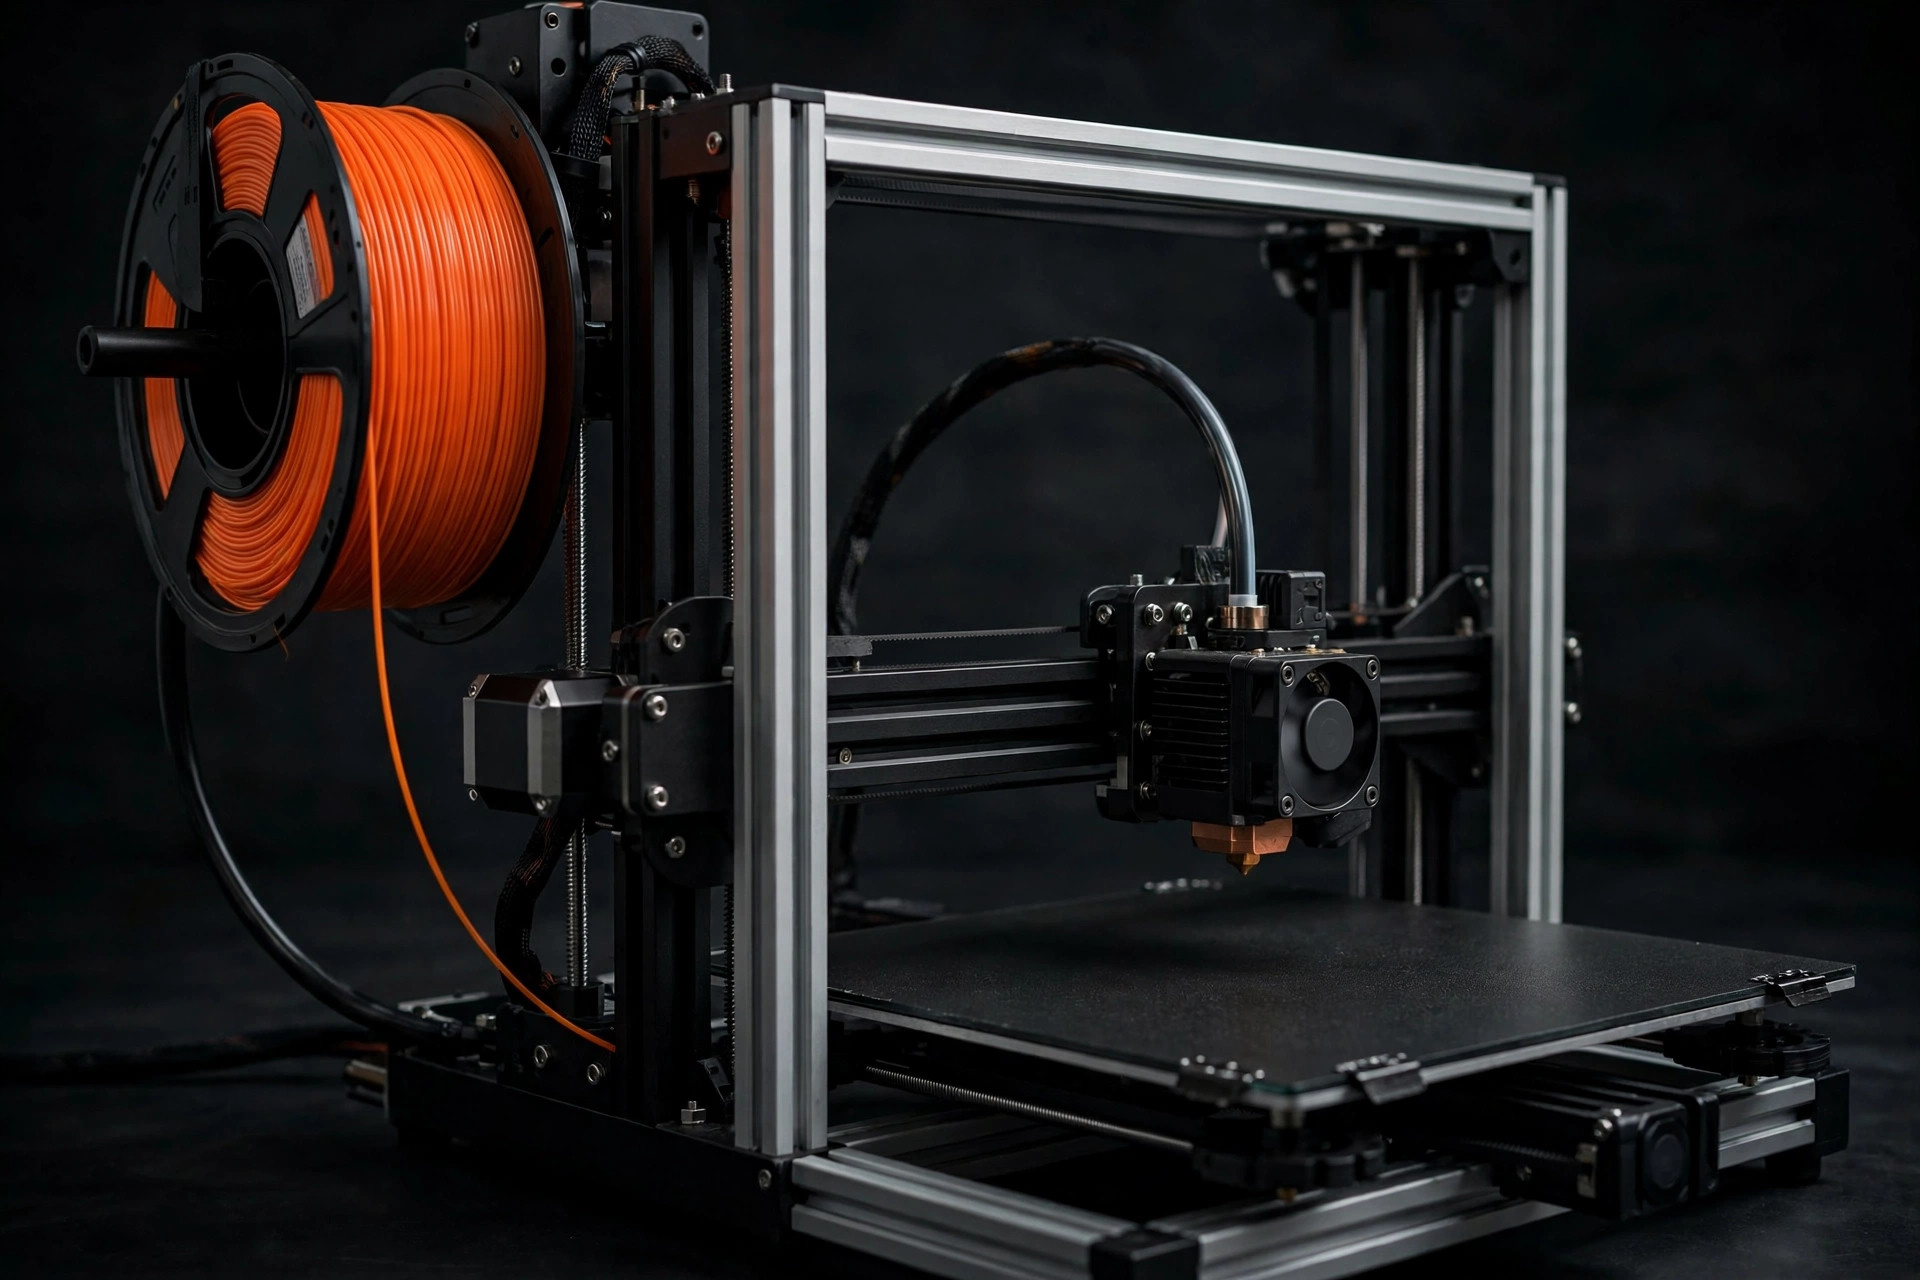
The Flashforge AD5X is built around a fast, enclosed-frame motion system with automatic calibration and multi-filament capability. That combination makes it appealing to a new owner who wants more creative range than a basic single-color bed slinger. It is not completely hands-off, though. Reliable results still depend on correct assembly, a clean plate, dry filament, and a slicer profile matched to the machine.
What the AD5X is good at
The machine's CoreXY-style motion keeps the bed moving mainly on the vertical axis while the toolhead handles horizontal movement. That reduces the back-and-forth mass common to a bed slinger and supports faster travel. The rigid frame, direct-drive toolhead, automatic leveling, and quick-change nozzle concept make routine use approachable. Multi-filament printing is the headline feature, but its more important beginner benefit may be the ability to leave several colors or material spools ready for selection.
The tradeoff is complexity. Every additional spool path introduces another point where filament can snag, cross, soften, or fail to reach the extruder. Color swaps also create purge material and increase print time. Learn the printer with one spool first. Once a single-color cube, overhang test, and practical part are reliable, add multi-color work.
Unboxing without creating problems
Clear all shipping restraints
Work through the printed quick-start sequence in order. Remove foam, clips, ties, and every transport screw identified by the manufacturer. Do not force the bed or toolhead while restraints remain installed. Check the build chamber, beneath the platform, and around the spool hardware; packing pieces can be easy to miss against a dark frame.
Place it on the right surface
Fast motion produces vibration. Use a rigid table that does not rock, with enough space behind and beside the machine for cables, filament paths, and ventilation. Avoid deep carpet, direct sunlight, and shelves that trap heat. The printer should not share a lightweight desk with a monitor you expect to remain still. A dense paving stone over a damping mat can reduce transmitted vibration, but stability matters more than accessories.
Inspect before powering on
Confirm the voltage setting if your regional model has a manual selector. Verify that connectors are seated, belts are on their pulleys, the plate is correctly located, and no wire can enter the motion path. The nozzle should look straight and the silicone sock should sit evenly. If anything appears damaged, photograph it before operating and use the seller's support route.
First power-on and calibration
Install available firmware through the printer's normal interface, then restart before calibrating. Run the full calibration from a cold, clean machine. Automatic routines may check homing, bed level, vibration behavior, and nozzle offset. Let the sequence finish without leaning on the table. Calibration is a baseline, not a repair tool: stop if you hear repeated grinding, see a cable catch, or notice the nozzle pressing hard into the plate.
Wash a new build plate with warm water and plain dish soap, rinse thoroughly, and dry it with a clean lint-free towel. Factory residue and fingerprints are common causes of a first print lifting. Handle the sheet by its edges afterward. Isopropyl alcohol is useful between prints, but it does not always remove oils as completely as soap and water.
Loading filament the easy way
Start with ordinary PLA from a sealed, reputable spool. Trim the filament at an angle and straighten the first few inches. Follow the on-screen loading sequence, watching each guide tube and inlet. The path should curve gently without kinks. Heat the nozzle only through the printer's load command, and confirm that the extruded strand is smooth and consistent.
For the multi-filament unit, label spool positions and make sure each spool can turn freely. Avoid cardboard edges that shed dust into rollers unless the system explicitly supports them or you use compatible rims. Do not mix materials that require very different temperatures in one decorative print until you understand purge and adhesion behavior.
Slicer setup
Use a current AD5X profile supplied by Flashforge or a verified profile in the slicer you choose. A machine profile contains bed dimensions, start and end movements, acceleration expectations, and nozzle information; selecting a vaguely similar printer is not enough. Confirm the installed nozzle diameter, usually 0.4 mm for general work, and choose a standard 0.20 mm layer-height profile for the first projects.
- Use three wall loops for practical parts.
- Begin around 15–20% infill for ordinary models.
- Keep supports off unless the preview shows an unsupported region.
- Use the profile's conservative speed before chasing benchmarks.
- Preview every layer, especially color changes and purge structures.
Your first three prints
Begin with a small calibration cube to confirm dimensions and surface consistency. Follow it with an overhang or bridging test to evaluate cooling. Third, print something useful such as a cable clip or shallow tray. A famous torture-test model can be fun, but it combines many variables and does not always reveal which setting caused a flaw. Focused tests teach faster.
Settings worth changing—and leaving alone
Set the correct filament type, color, and slot assignment. Tune temperatures only in small increments after the default profile has produced a complete part. Adjust first-layer speed or plate temperature if adhesion is consistently weak after cleaning. Leave machine limits, start G-code, pressure advance, and acceleration values alone until you understand what they control. Random “best settings” copied from a different nozzle, firmware version, or filament can make results worse.
Common AD5X beginner issues
If filament does not load, check every guide path before disassembling the toolhead. If the first layer looks sparse, confirm plate seating and rerun calibration with a clean nozzle. If corners lift, wash the plate and reduce drafts. If multi-color prints show contamination, increase purge conservatively and choose an infill purge option only after inspecting the preview. If prints ring or echo around sharp corners, lower acceleration before reducing every speed.
Verdict
The AD5X can be a strong first machine for someone drawn to color work and fast everyday printing. Its automation shortens setup, but the multi-filament system rewards an orderly routine. Master one material, one spool, and one baseline profile; then introduce colors individually. That sequence turns the machine's complexity into useful capability instead of a troubleshooting maze.