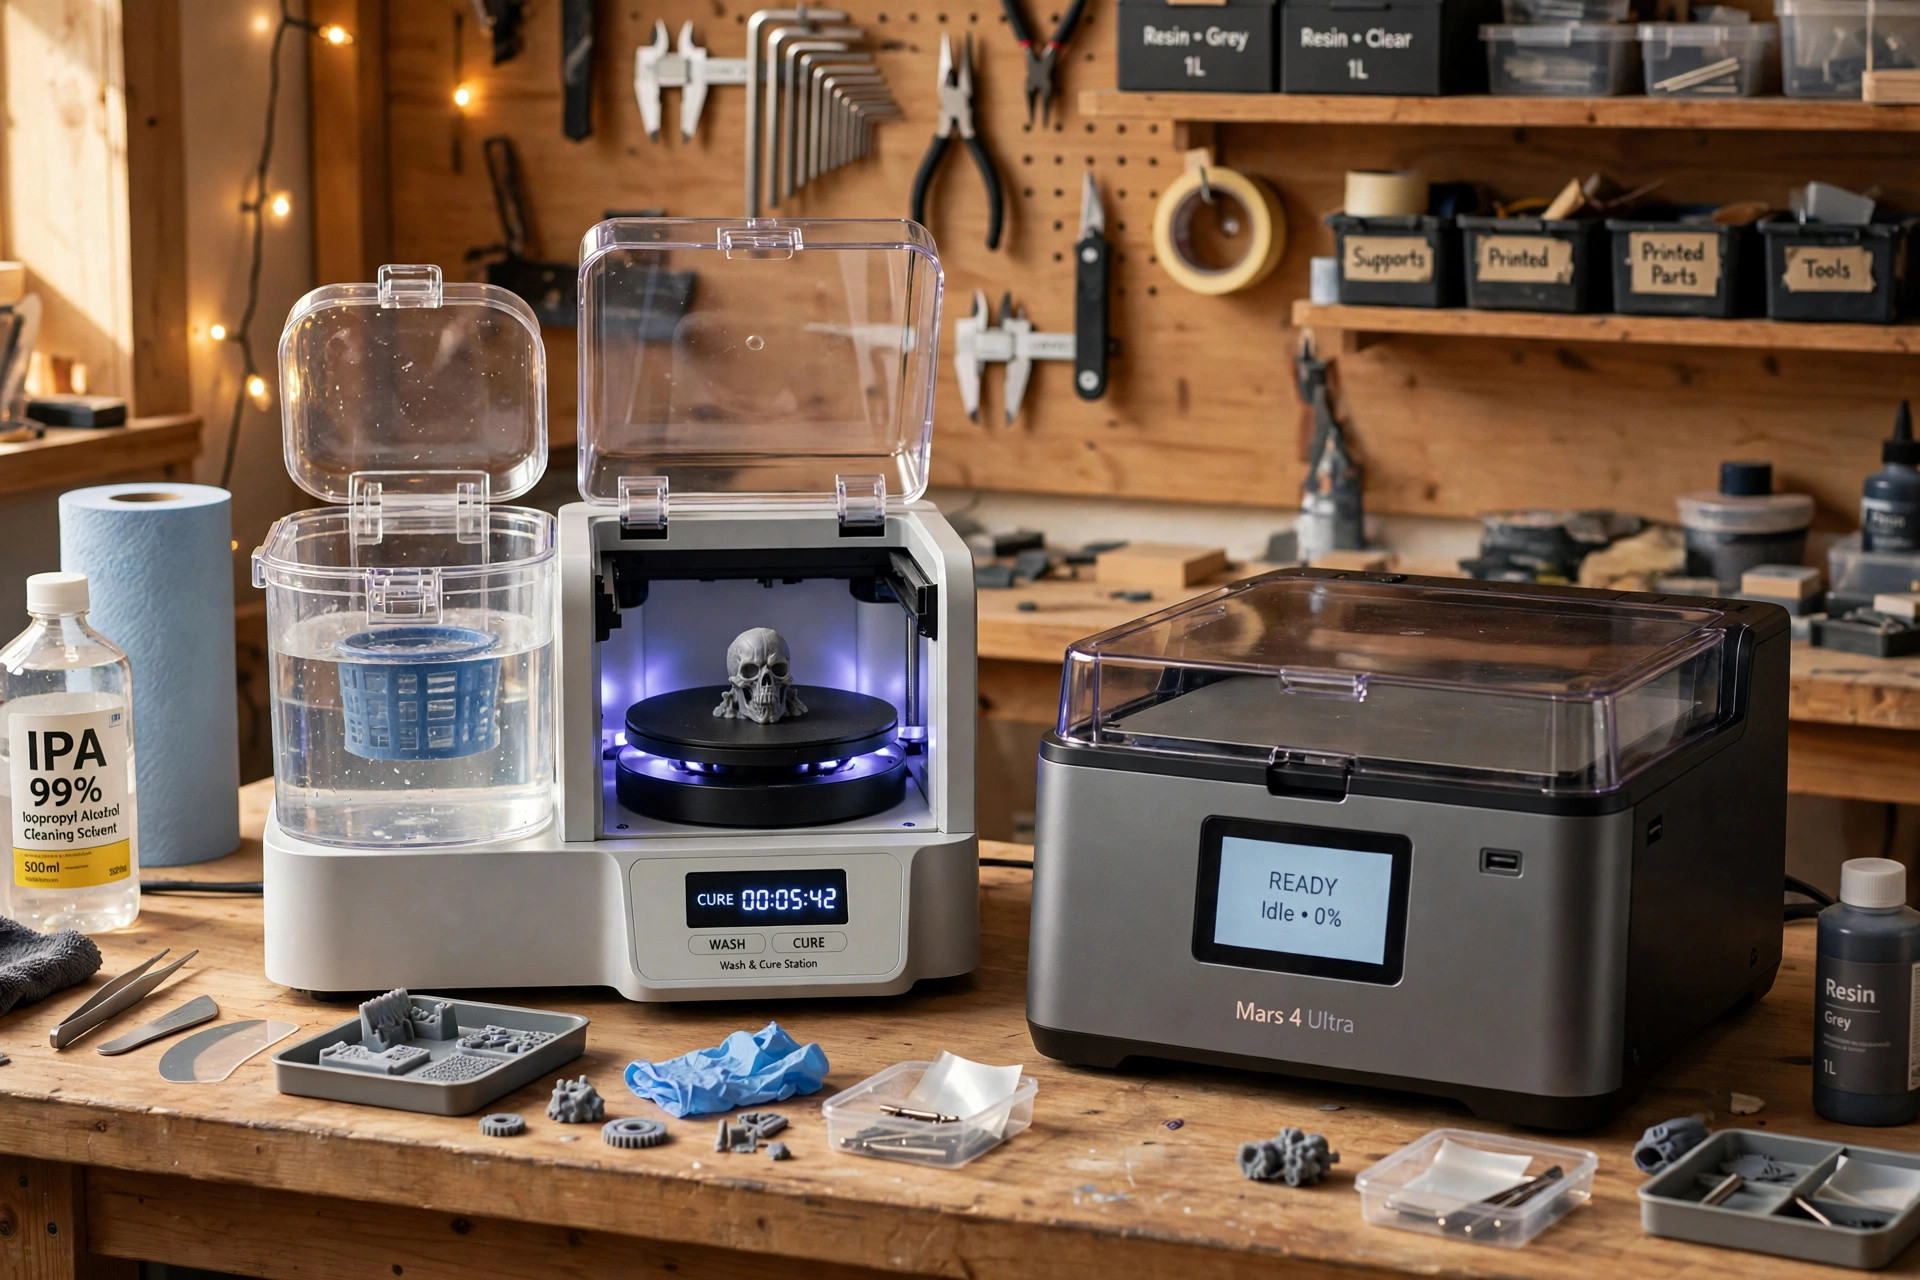
A resin print is not finished when the printer stops — it is coated in uncured, skin-irritating resin that has to be washed off, and then UV-cured to full strength. A wash and cure station turns that messy, improvised half-hour into a timed five-minute routine: agitated wash, rotating cure, done. This guide explains the wash/cure workflow, the two-stage trick that separates good surfaces from great ones, and the five setups worth buying in 2026 — from full two-in-one stations to a sub-$40 starter kit.
Last updated: October 20, 2026 · Prices and availability checked October 2026.
PrintDialed is reader-supported. When you buy through links on our site, we may earn an affiliate commission.
Our picks
- Two-in-one wash and cure station (Mercury Plus class) Best overall
- Large-format wash and cure station Best for big printers
- Compact wash and cure station (small-printer class) Best for small printers
- Separate wash container + UV cure box setup Best flexible setup
- Budget UV curing turntable & light box under $40 Best budget
| Product | Best for | Key spec | Price |
|---|---|---|---|
| Two-in-one wash and cure station (Mercury Plus class) | Most resin printer owners | Wash + UV cure in one unit · fits Mars/Saturn-class plates | Check price → |
| Large-format wash and cure station | Large-format resin printers | Oversized wash volume · fits 10in+ plates · dual cure modes | Check price → |
| Compact wash and cure station (small-printer class) | Mars-class printers & small desks | Small footprint · fits ~6in plates · quiet operation | Check price → |
| Separate wash container + UV cure box setup | Tinkerers & two-stage washing | Sealed wash tubs + standalone 405nm cure box · mix and match | Check price → |
| Budget UV curing turntable & light box under $40 | Occasional printers on a budget | 405nm UV light + solar/battery turntable · wash in a sealed tub | Check price → |
The workflow, in plain terms
Wash: the print (ideally still on its build plate) goes into isopropyl alcohol or a resin detergent while a stirrer or your gloved hand agitates it for 3–6 minutes, dissolving the uncured surface layer. Dry: let the solvent flash off completely — curing a wet print traps white residue in the details. Cure: 405nm UV light for typically 2–5 minutes on a rotating platform hardens the resin to its final strength and a dry, non-tacky finish. Skip or rush any step and the print tells on you: tacky surfaces, white bloom, brittle thin sections.
Safety is part of the workflow, not a footnote: nitrile gloves for every contact with uncured resin or used solvent, ventilation while washing, and never pour used wash liquid down a drain — cure contaminated solvent and solids under UV and dispose of them as your local rules require. Our 3D printing safety guide covers the full routine.
The two-stage wash: the one upgrade that matters most
Every wash bath gets dirty, and a print lifted from dirty solvent dries with a film of dissolved resin redeposited on it. The fix costs one extra container: wash first in the older, dirtier bath to strip the bulk, then briefly in a clean bath for a pristine finish. Two-in-one station owners can approximate it by reserving a small sealed tub for stage one and the station for stage two. However you arrange it, this single habit does more for surface quality than any other purchase in this guide — including the stations themselves.
How we compared them
We compared wash and cure setups on wash volume and build-plate fit (the spec that actually decides compatibility), whether washing on the plate is supported, curing evenness (turntable plus multi-direction LEDs), timer range, and sealed-solvent handling. An honest note: these are researched roundups built from manufacturer specifications and aggregated owner reviews — not instrumented lab tests of every unit. The guidance below is about matching station size to your printer and choosing how much of the workflow you want automated.
The five wash and cure setups worth buying in 2026
Two-in-one wash and cure station (Mercury Plus class) Best overall
The default recommendation for anyone who owns a resin printer: one machine that washes the print in agitated solvent, then cures it under 405nm UV on a turntable, timed and hands-off. The Mercury Plus class defines the category — a sealed wash bucket with a magnetic stirrer, a curing chamber with a rotating platform, and a bracket that lets you wash the model still on the build plate, which keeps uncured resin off your gloves and your bench.
Why it beats the bucket-and-nail-lamp setup it replaces: consistent cure times (under-cured resin stays tacky and brittle; over-cured resin yellows and loses detail), contained solvent instead of an open tub evaporating into your room, and a process tidy enough that you will actually finish every print properly. Size it to your printer — the station's wash volume and cure platform must fit your build plate — and this is the end of post-processing improvisation.
Pros
- One timed, contained process from printer to finished part
- Washes on the build plate — cleaner, less handling of uncured resin
Cons
- Must match your printer's build-plate size — check before buying
- Solvent is still on you: budget for IPA or resin detergent
Our verdict: One timed, contained process from printer to finished part — the pick for most resin printer owners.
Best for: Most resin printer owners. Not ideal for: Must match your printer's build-plate size — check before buying.
Large-format wash and cure station Best for big printers
Owners of Saturn-, Jupiter-, and Photon Mono X-class printers learn the same lesson: a standard station cannot swallow their build plate, and washing a 10-inch plate in a salad spinner is not a workflow. Large-format stations scale the whole system up — bigger sealed buckets, stronger stirrers, and cure chambers that fit full plates and tall models without cutting them into sessions.
Buy the size that fits your plate with room to spare, and pay attention to the wash-on-plate bracket: at this scale, handling a dripping large print by hand is where messes and drops happen. If you are still choosing the printer itself, our resin printers guide covers which sizes make sense for miniatures, functional parts, and display models.
Pros
- Actually fits large build plates and tall prints
- Same contained, timed process at full scale
Cons
- Bench footprint and price scale up with it
- Uses more solvent per wash — operating cost is real
Our verdict: Actually fits large build plates and tall prints — the pick for large-format resin printers.
Best for: Large-format resin printers. Not ideal for: Bench footprint and price scale up with it.
Compact wash and cure station (small-printer class) Best for small printers
Compact stations exist for the most common resin setup in the hobby: a Mars-class printer on a desk or shelf, printing miniatures and small parts. They deliver the same wash-then-cure discipline in roughly half the footprint, hold enough solvent for small plates and parts baskets, and are quiet enough to run in a hobby room while you paint the last batch.
The limits are exactly what you would expect — a plate or model that outgrows the printer class outgrows the station too, and tall models may need curing in two positions. For tabletop gaming prints, jewelry prototypes, and dental-scale work, none of that bites. This is the right-sized station for the right-sized printer, and it costs meaningfully less than the full-size units.
Pros
- Full wash/cure discipline in a desk-friendly footprint
- Costs less and uses less solvent than full-size stations
Cons
- Outgrown the day you buy a bigger printer
- Tall models may need two cure positions
Our verdict: Full wash/cure discipline in a desk-friendly footprint — the pick for mars-class printers & small desks.
Best for: Mars-class printers & small desks. Not ideal for: Outgrown the day you buy a bigger printer.
Separate wash container + UV cure box setup Best flexible setup
The two-box approach the stations were built to replace still has real advantages for the right user — chiefly the two-stage wash. Resin veterans wash first in a 'dirty' tub that takes the bulk of the resin, then in a clean bath that leaves the surface truly residue-free; separates make that trivial, let you scale wash volume independently of cure space, and let you replace or upgrade one half at a time.
Build it properly: two sealed, solvent-safe containers with lids (pickle-container style tubs with strainer baskets are the classic), and a cure box with a turntable and a timer — not a bare UV lamp over a cardboard box, which cures unevenly and ages into a fire-adjacent hobby. Priced honestly, a good separate setup lands near a compact station; its win is flexibility, not savings. Keep both halves sealed and ventilated per our resin safety guide.
Pros
- Two-stage dirty/clean washing for the best surface finish
- Upgrade or replace wash and cure independently
Cons
- More bench clutter and more manual steps
- Easy to build badly — a real cure box is not optional
Our verdict: Two-stage dirty/clean washing for the best surface finish — the pick for tinkerers & two-stage washing.
Best for: Tinkerers & two-stage washing. Not ideal for: More bench clutter and more manual steps.
Budget UV curing turntable & light box under $40 Best budget
If you print resin occasionally — a miniature a week, not a production run — the minimum viable post-processing kit is a 405nm UV light with a rotating turntable for even curing, plus a sealed tub and basket for washing. Solar turntables borrowed from the jewelry-resin world work surprisingly well inside a light box, and the whole setup lands under $40.
Know what you are giving up versus the stations above: no timed auto shut-off discipline unless you set a phone timer (do — over-curing is the budget setup's signature failure), no magnetic stirring, and manual everything. It is an honest starter kit that produces properly finished prints; the day resin becomes a weekly habit, the two-in-one station earns its bench space and this kit becomes the backup.
Pros
- Properly finished prints at the lowest total cost
- Turntable cures evenly — the step up from sun-curing
Cons
- Fully manual: you are the timer and the stirrer
- No containment upgrades — ventilation and gloves still on you
Our verdict: Properly finished prints at the lowest total cost — the pick for occasional printers on a budget.
Best for: Occasional printers on a budget. Not ideal for: Fully manual: you are the timer and the stirrer.
Our verdict
Buy the two-in-one wash and cure station sized to your printer — it is the correct default and the end of post-processing improvisation. Size up to the large-format station with your printer, not after a failed wash teaches you. Tinkerers who want the two-stage wash as a first-class feature should build the separate setup deliberately, and occasional printers can start honestly with the sub-$40 cure kit. Whichever route you choose, adopt the two-stage wash and the dry-before-cure pause: those two habits, not the hardware, are what finished prints are made of.
Frequently asked questions
Can I just cure prints in sunlight instead?
You can, and beginners do — but sunlight is an uncontrolled cure: intensity varies by hour and cloud, parts cure unevenly, and long exposures over-cure thin sections brittle. A timed UV box or station gives the same result in minutes, repeatably, on a rainy Tuesday. Sunlight remains a fine way to cure waste resin and contaminated paper towels before disposal.
How long should I wash and cure?
Typical starting points: 3–6 minutes of agitated washing, a full dry (at least several minutes, until no solvent sheen remains), then 2–5 minutes of curing for small-to-medium parts, rotating or flipping once for complex shapes. Your resin manufacturer's datasheet wins any argument with this paragraph — water-washable and specialty resins differ.
IPA or resin detergent — which wash liquid?
90%+ isopropyl alcohol is the classic: fast, effective, flammable, and increasingly pricey in quantity. Purpose-made resin detergents and mean-green style cleaners work well in stations (some are designed for them), smell less aggressive, and are not flammable — but may need longer washes and a water rinse. Either beats the third option, which is not washing properly at all.
Do I need a station if I use water-washable resin?
Water-washable resin still needs washing (in water, which then becomes contaminated waste — never sink-dumped) and still needs a full UV cure. A station works with water in the bucket on most models and keeps the same discipline; the resin type changes the liquid, not the workflow.